
Ergonomic demolding flower molds is a focused set of hand positions and small-bench tools designed to speed safe removal of delicate embossed flower-and-leaf charms from frosted translucent silicone without stretching or tearing fine details.
How to set a fast, comfortable station for heart-shaped floral molds
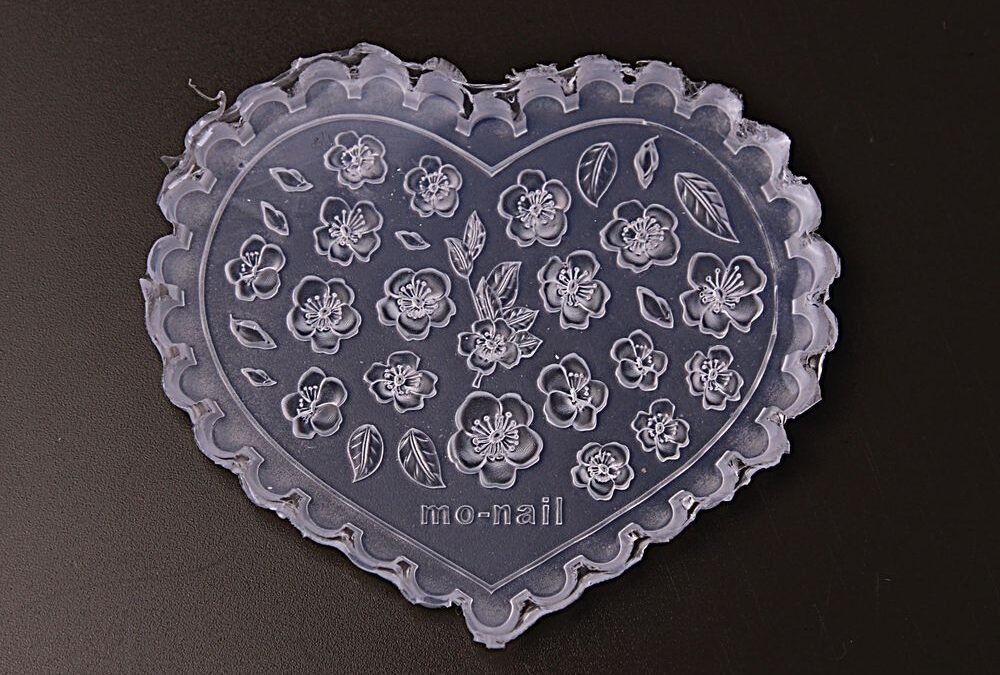
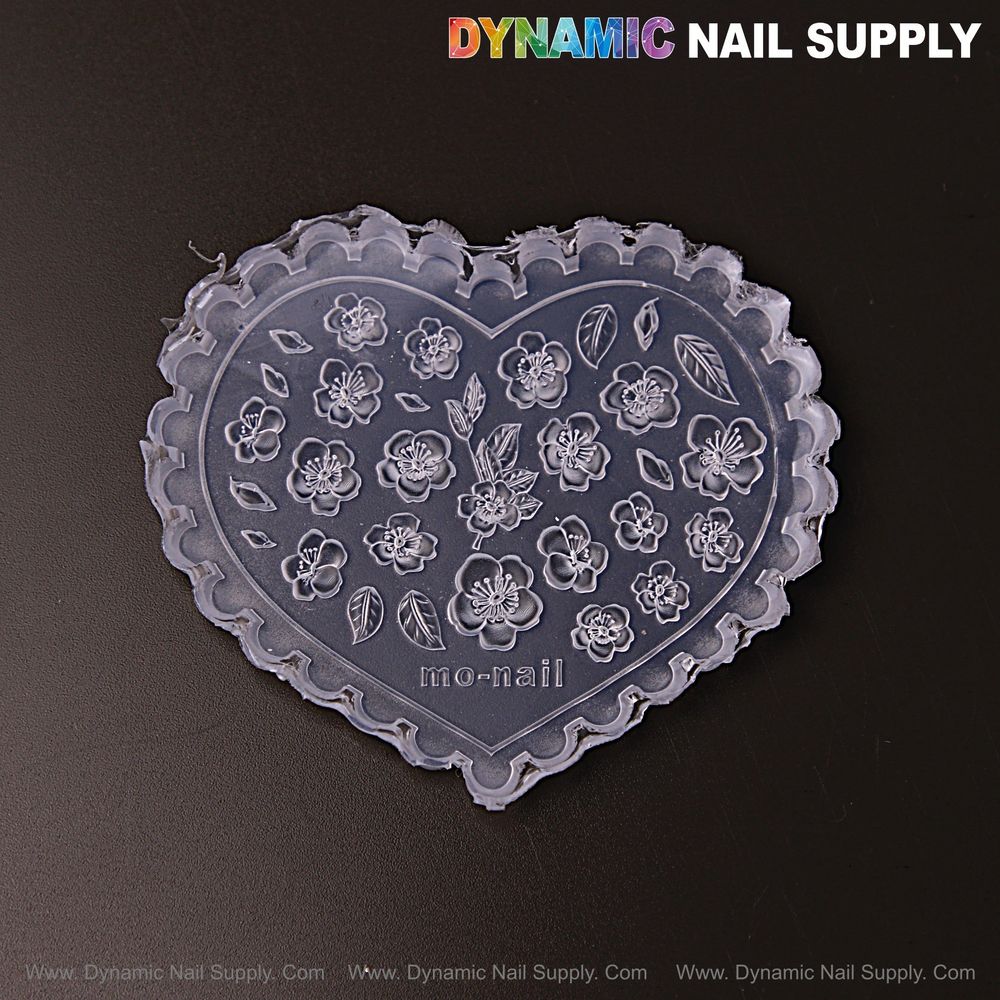
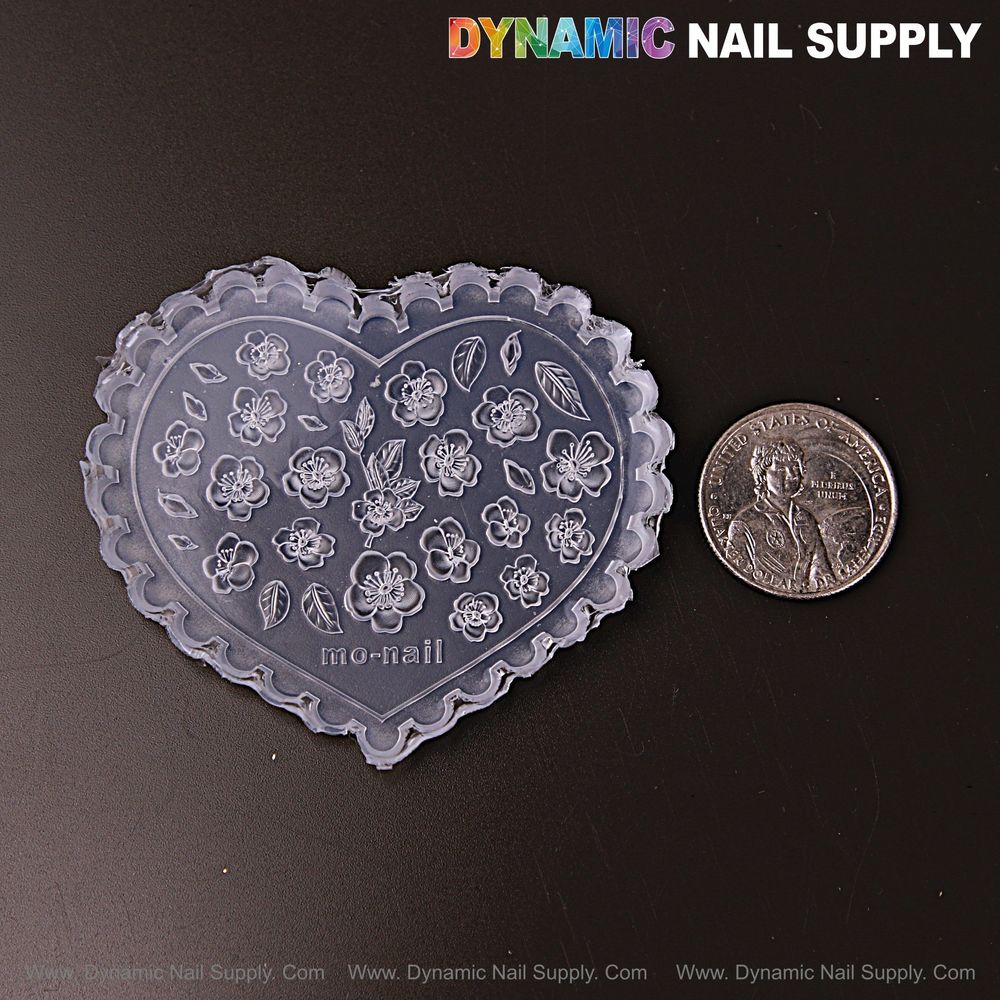
When you have only minutes between clients, set a compact station that reduces reaching and awkward wrist angles: place the UV/LED lamp at the back-left or back-right of your station so you can cure, not twist; keep a flat, non-slip pad under the mold to prevent sliding; and arrange tweezers, a thin scraper card and a soft silicone lifter within a 6–8 inch semicircle so your forearm remains supported. The mold you will use—Mixed Size Flowers with Leaves—is a heart-shaped, frosted, milky-blue silicone template with tightly packed small flower and leaf cavities and a scalloped outer border, and its translucent body and crisp engraved impressions are very easy to read against a dark surface. Because the template is thin and flexible, the way you support your hands matters as much as the tools you choose.
Which tools and bench helpers save the most wrist effort
You don’t need a long tool list to work faster; choose three ergonomic helpers that keep repetitive wrist motion to a minimum: a soft silicone lifter or thin plastic wedge for gentle flexing, angled stainless tweezers with a wide handle for secure grip without pinching, and a flat scraper card held at a consistent 45° for even material removal. A small padded wrist rest under your dominant forearm cuts strain during batches, and a pair of finger pads or silicone grips on your tweezers reduces the pinch force you must apply. These small changes let you demold more pieces before fatigue sets in.
Step-by-step quick demold routine for busy appointments
Follow this five-move sequence that emphasizes support, minimal hand travel, and controlled flexing so you can release multiple embossed charms in one short pass while protecting fine petals and leaves.
- 1 — Stabilize: Lay the frosted milky-blue heart-shaped mold on a soft, non-slip pad and bring your dominant forearm to rest on a small wrist cushion so your hand moves in short arcs, not long reaches.
- 2 — Edge lift: Use the silicone lifter or thin wedge to raise just two opposing outer scallops of the heart; lift in small increments rather than a single big pull so the internal cavities delaminate gradually.
- 3 — Reverse flex: With the mold still mostly supported, flex the portion nearest you away from the cured piece using gloved fingertips, keeping the motion slow and consistent so embossed petals separate from the cavity walls without tearing.
- 4 — Tweezer release: As the charm edge becomes free, use angled tweezers to slide under the lifted rim and coax the piece out while the mold edge remains supported on the pad; this avoids a high-torque pull that distorts tiny leaves.
- 5 — Final clean: Hold the charm with tweezers and run a quick dust-off with adhesive tape or a soft brush before placement; then return the mold to the pad and repeat without reorienting the lamp or your hands.
How to protect tiny embossed petals and leaves when you speed up
Rushing usually means more force, which is what causes tears and stretched bulbs on small floral cavities. To prevent that while working quickly, dose materials thinly so there is no excess flash to catch on cavity edges; use a dotting tool or carving pen to seat gel into tight leaf veins before scraping; and adopt staged curing—30–45 seconds for a tack-set followed by a short support cure—so the charm has body when you remove it but is not brittle. These small investments of time avoid longer rework later.
In the middle of a service flow you may want to pre-cast several charms for the set; a single well-planned batch run with the same hand positions and tools reduces cumulative strain and produces consistent shapes. If you want to reference the exact heart-shaped frosted template discussed here during station setup, try Mixed Size Flowers with Leaves in your supply notes so you always reach for the correct mold in a busy lineup.
Hand positions and micro-adjustments that reduce wrist strain
Think of demolding as a low-amplitude motion: keep your wrist neutral, move mostly at the base of the fingers, and let the forearm bear weight rather than the wrist. When flexing the milky-blue silicone, use two hands—one to anchor the mold and the other to guide the release—so the movement comes from the larger muscles of the forearm. Toggle between dominant and non-dominant hands every few pieces to spread load, and use short rests between batches to let small stabilizer muscles recover. These micro-adjustments matter most when the mold has many small cavities, as this heart-shaped design does.
What you must not skip even when the schedule is tight
Even on express days, do not skip four simple practices: cleaning the mold before each use to prevent trapped dust from wrecking fine impressions; drying it completely so moisture doesn’t interfere with adhesion; checking cured tack level so you don’t remove pieces that are under-cured and soft; and using gentle flex techniques rather than forceful pulls. Skipping any of these saves seconds up front but risks repeating work or losing a set — which costs much more time overall.
Care, storage and safety notes for frosted translucent silicone
Clean the mold with a mild cleanser or alcohol and a soft brush, then let it air dry flat away from sunlight to preserve its frosted appearance and elasticity. Store flat to avoid permanent warping of the scalloped heart border. Handle with light, clean gloves during high-volume casting to reduce oils on the surface, and avoid metal tools that can nick thin edges; use plastic or silicone lifters instead. These precautions keep the engraved impressions crisp so your bridal sets remain delicate and refined.
Final checklist recap
- Station: lamp at back, non-slip pad, wrist rest in place.
- Tools: silicone lifter, angled tweezers with grip, scraper card.
- Routine: stabilize, edge lift, reverse flex, tweezer release, final clean.
- Must-do even when rushed: clean & dry mold, check cure, gentle flex, short rests.
- Storage & care: air dry flat, avoid sunlight, use gloves for repeated use.