
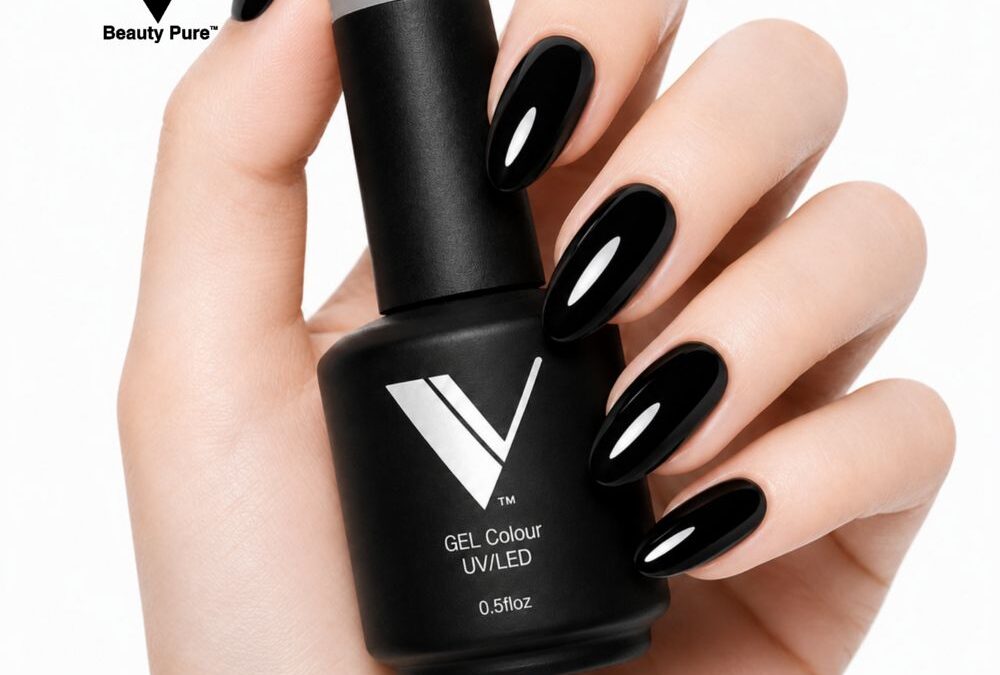
Negative space black nail design is a minimalist manicure technique that intentionally leaves parts of the natural nail exposed so glossy black shapes and the skin’s soft nude tone create contrast and modern lines.
How to set up quickly for long-oval, high-gloss negative space
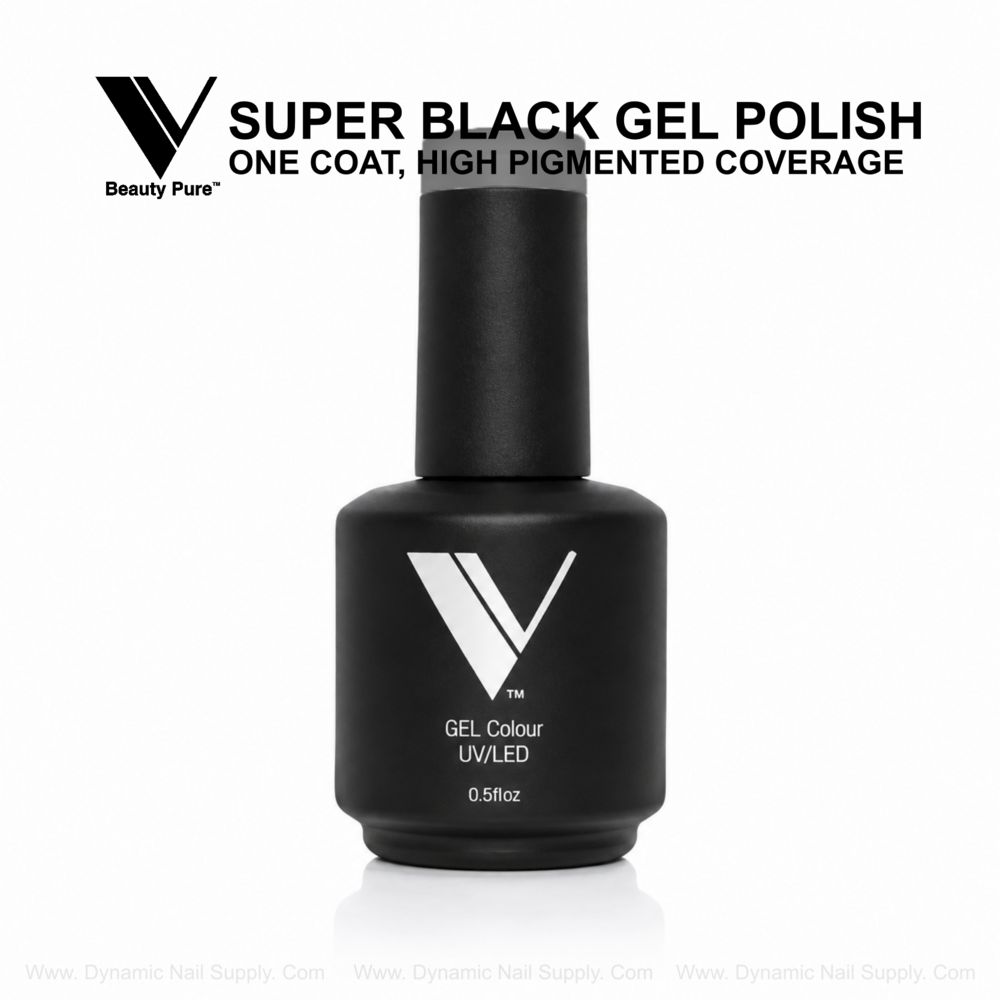
When time is short you want a tidy station and a minimal kit: file and shape long-oval nails, lightly buff the nail plate to remove shine, push cuticles back, and wipe with a lint-free wipe and cleanser. Keep your V Beauty Pure Super Black Gel Polish and a compatible base and top coat within arm’s reach, plus a fine liner brush, a thin striping brush, and several small pieces of thin, flexible tape or specialized negative-space stencils. Arrange tools so your dominant hand can reach everything without interrupting curing—this saves minutes per nail and prevents fumbling that destroys crisp edges.
Fast step-by-step: a streamlined application for busy days
Start with a single thin base coat cured per the base’s instructions; a thin layer reduces lifting and keeps the negative areas clean. For the black shapes, choose one decisive shape per nail—half-moons, crescent tips, or off-center ovals read strongly on long-oval shapes and cure faster than complicated multi-shape compositions.
- Place tape or a stencil along the nail where you want the nude negative area to remain, pressing edges down so no polish seeps underneath.
- Apply one thin, even coat of Super Black Gel Polish over the exposed nail, extending to the tape edge; because the formula is ultra-pigmented, a single thin pass often gives the rich jet-black coverage you need while preserving control.
- Cure under LED for the manufacturer’s recommended time; curing before removing tape prevents smudges and helps maintain mirror-like shine.
- Remove the tape immediately after curing while the polish is firm but not overheated; this yields crisp, clean negative edges.
- If any patchiness appears, add a second very thin coat only where needed and cure again.
- Finish with a thin top coat across the entire nail, sealing both black and exposed areas for cohesive sheen and durability.
Where to save time—and where to slow down
You can economize time by committing to one simple motif across the whole set and doing both hands in a rhythm: prep all nails first, then apply base, then tape and paint in an assembly-line flow. Skipping repeated full cleanups between nails will cut minutes, but there are moments you should never rush. Never skip edge-pressing on tape, because an imperfect seal ruins the negative-space contrast and forces touch-ups that cost more time than the extra thirty seconds you saved. Also, don’t skimp on curing for the black coat—under-cured pigment can lift or smear when you remove tape.
When you’re balancing speed with a flawless finish, remember that the polish’s characteristics let you work efficiently: the opaque jet-black pigment and self-leveling texture are forgiving of single-pass application, so you can often rely on one careful stroke per nail instead of multiple heavy layers. If you prefer to keep product notes visible while you work, jot the price ($14.70, prices may change) on a small card so you don’t interrupt workflow to check packaging.
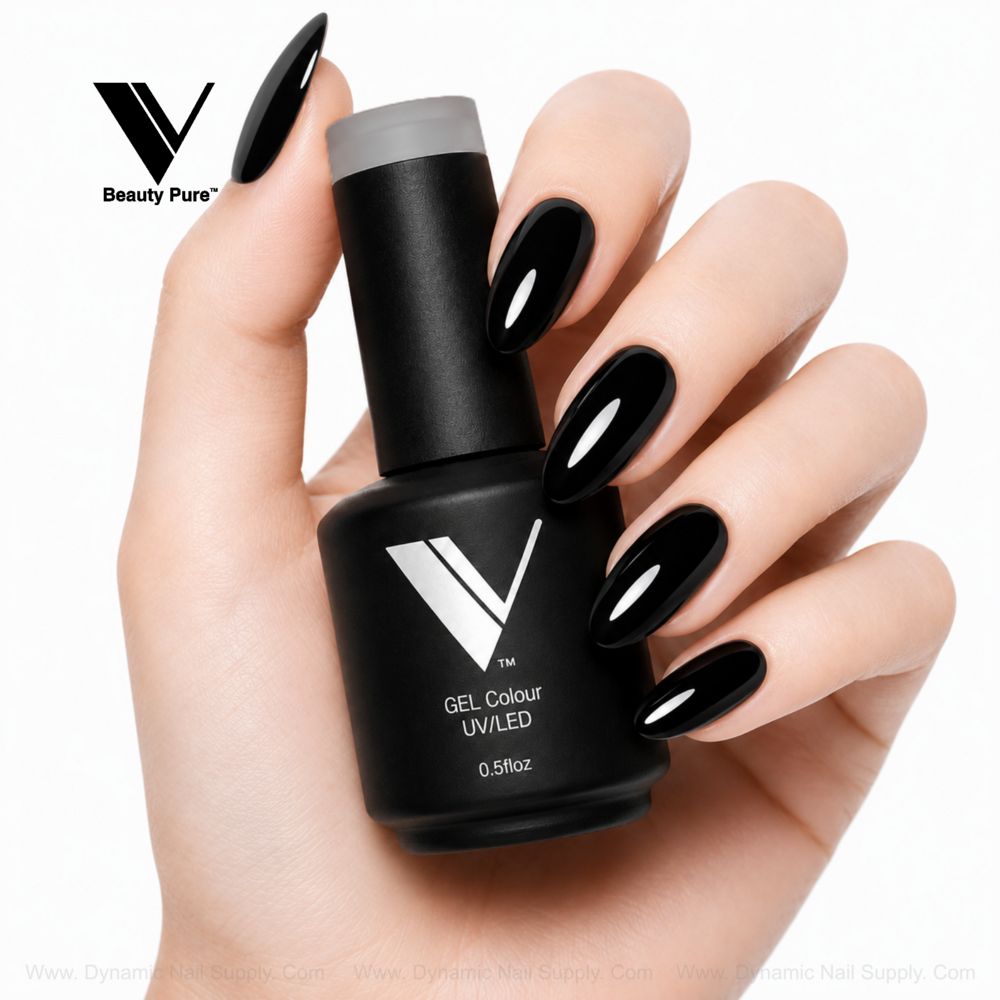
For a quick reference on how this specific polish behaves in negative-space layouts, we often note that Super Black Gel Polish lays down a mirror-like black that reads cleanly against peachy-nude natural nail areas, which helps you plan stencil placement and curing order.
Finishing techniques that preserve the glossy contrast
To keep the black mirror finish crisp against the skin-tone negative sections, use a thin gloss top coat applied in one steady pass from cuticle to tip, covering the junction of black and nail to create a unified surface without softening the edge. For an ultra-sharp contrast, after the top coat cures, gently cleanse only the natural nail area around the black (not the black itself) with a soft lint-free pad and a touch of cleanser to ensure the skin-tone negative space reads true and luminous against the black mirror shine.
Matte accents can be added selectively—if you plan to matte parts of the black later, do it only after the top coat is fully cured and be precise with a small sponge or a matte top coat brush so the matte effect doesn’t blur the negative edge.
What not to skip even when you’re rushed
Even on your busiest day, don’t accelerate at the expense of three essentials: proper prep, tape sealing, and curing times. Proper prep prevents lifting and ensures the peachy-nude negative areas stay adhesive-ready; a properly sealed tape yields the crisp, modern lines that define this look; and full curing protects the high-gloss mirror effect from smudging when you remove your guides. Skipping any of these will result in more time spent correcting later.
Also, keep a small pot of acetone and a pointed brush nearby for micro-cleanups—addressing tiny bleed spots immediately will salvage a set without redoing nails entirely.
Safety and handling notes
Work in a well-ventilated area, avoid direct skin contact with liquid gel where possible, and follow curing instructions for your base and top coats. Use proper removal methods to avoid excessive filing of the nail plate: soak-off systems are gentler than forceful scraping. Store the polish upright in a cool, dark place to protect pigment density and consistency.
Numbered checklist recap:
- Prep: file, shape long-oval, buff lightly, cleanse nail plate.
- Base coat: apply one thin layer and cure.
- Mask: place tape or stencil and press edges firmly.
- Paint: one thin coat of Super Black Gel Polish over exposed areas.
- Cure: fully cure the black layer before tape removal.
- Remove mask: lift tape immediately after curing for crisp edges.
- Refine: spot-apply a second thin coat only where needed and cure.
- Top coat: seal entire nail in one smooth pass and cure.
- Final clean: micro-clean edges and store products upright.