
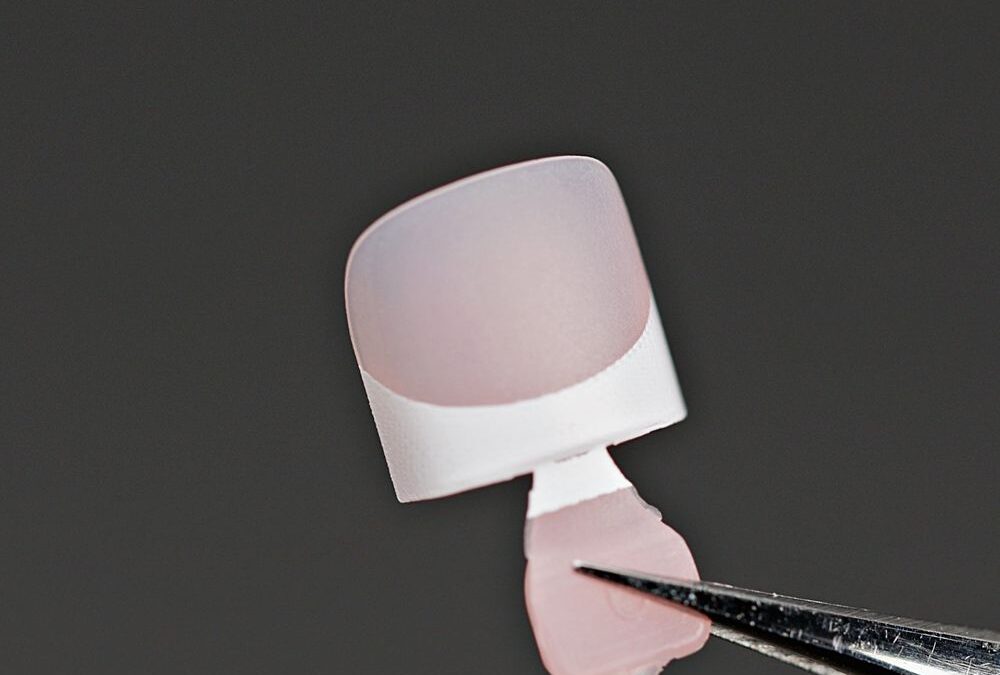
Definition: baby pink french toe tips are pre-shaped, full-cover almond toe tips in a soft baby-pink tone with a white French edge, packaged in a clear compartment box for size sorting.
See the baby pink french toe tips here to confirm the shade and organized compartment layout before you buy: baby pink french toe.
How do I pick sizes and set up quickly?
When time is short you want a methodical but fast sizing routine that stops guesswork before it begins; start by laying out the clear compartment box so you can see the 15 sizes at a glance, then visually match each toe to the nearest size from sidewall to sidewall—if a choice sits between two sizes, choose the slightly larger tip and plan to refine the sides by light filing rather than forcing a tight fit.
For a bridal pedicure you’ll likely repeat the same few sizes across toes, so create a simple size map on a sticky note for the pair and keep that map next to your lamp; this two-minute setup saves repeated measuring during a quick service.
What’s the fastest prep routine that still guarantees adhesion?
Skip complicated sculpting but never skip correct prep: trim excess free edge, push back and gently remove excess cuticle, and clean the nail surface with a lint-free wipe and a compatible cleanser. Lightly buff the natural nail only where necessary to remove shine—too much roughing increases the chance of lifting under a pre-made soft gel tip.
Apply primer/bonder according to your adhesive system and let it flash-dry; when you’re working on a tight timeline, set up your glue or gel adhesive and lamp so you can place and cure without pausing between toes. A thin, even layer of adhesive reduces squeeze-out and gives a more reliable bond than heavy blobs which add extra cleanup time.
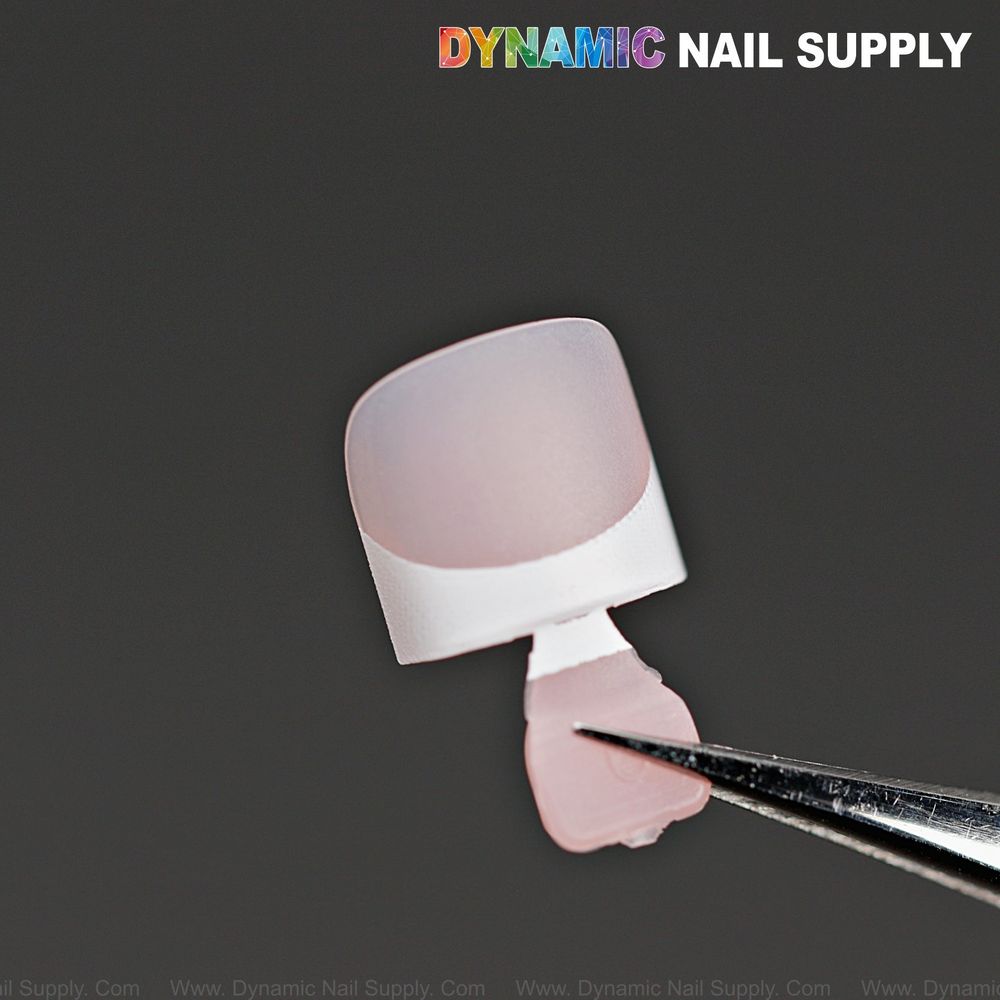
How do I apply the almond baby-pink tips fast and accurately?
First, keep the application tab intact while positioning for control; align the white French edge where you want the smile line, press the tip down from cuticle to free edge, and hold firmly for about five seconds. If you use a gel adhesive, cure immediately under your UV/LED lamp according to the adhesive’s directions to lock position, then remove the tab.
Because these tips are soft gel and designed for comfort, they conform slightly on placement—use that to your advantage by pressing and holding a second time after curing or glue set, which helps the adhesive spread thinly and evenly across the underside. Work toe to toe in predictable order, finishing all placements before moving on to edge refinement so you stay in flow.
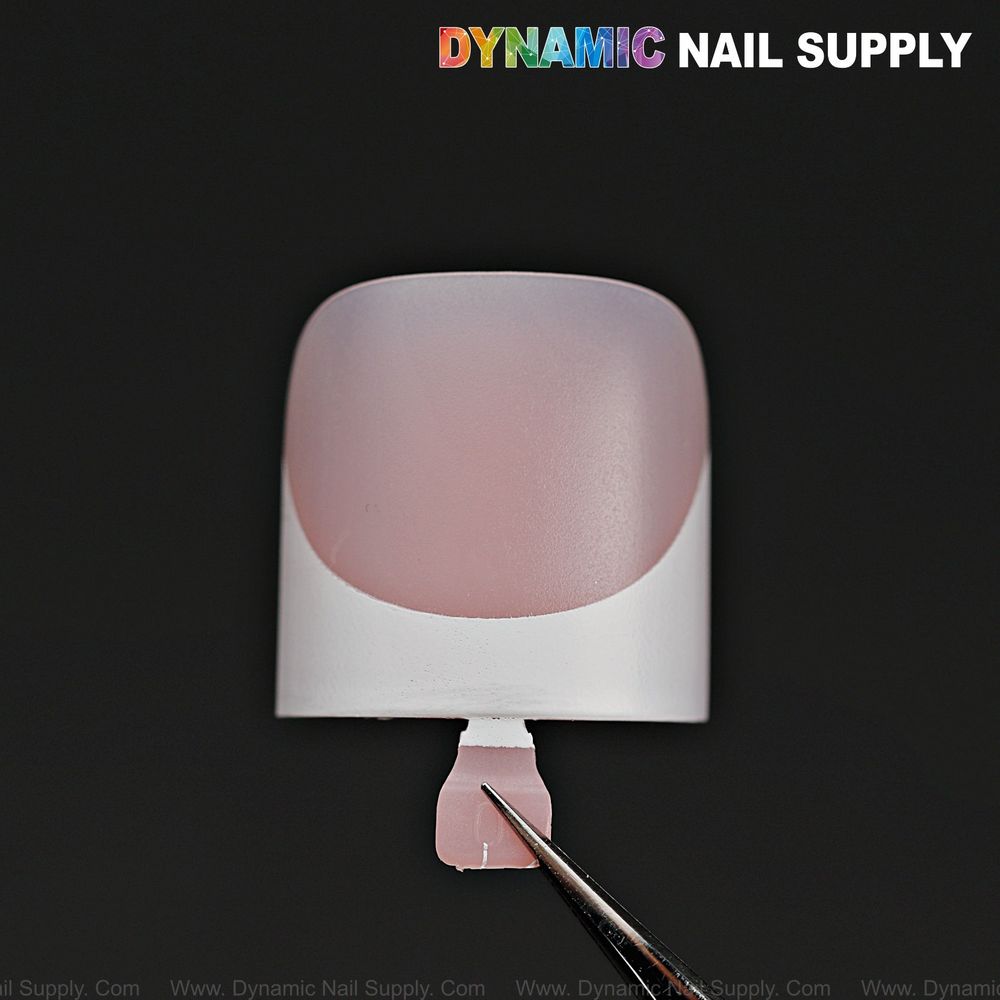
What finishing steps must you not skip even when rushing?
Even on a condensed timeline there are three finish moments you cannot skip: trimming or removing the tab cleanly, feathering the sidewalls where needed for a flush fit, and ensuring the white tip edge is crisp and even. Use a small straight cutter for the tab and a fine file to smooth sidewalls—this takes less than a minute per toe but changes the result from a quick fix to a polished pedicure.
For a matte final look that mirrors the smooth matte surface of the tips, gently buff the edges and then apply a thin matte topcoat if your adhesive system allows it, curing as required; this complements the baby-pink surface and keeps the white tip accent distinct without looking shiny or overdone.
Glue versus gel bond: which should you choose for speed and durability?
If you need the absolute fastest turnaround, a reliable thin-layer nail glue is usually the quickest: it sets rapidly and you can tidy edges right away. A compatible gel adhesive requires curing under a lamp, which adds seconds but often yields a more flexible bond that reduces early lifting on active feet. Decide based on your schedule—if the service is back-to-back with other appointments, glue saves minutes; if you want slightly longer wear for a wedding weekend, opt for gel and use the lamp you already have on the station.
Whichever system you use, apply adhesive sparingly and avoid getting any on the visible baby-pink surface, which can alter the matte look; wipe excess adhesive from sidewalls immediately with a lint-free wipe before it cures.
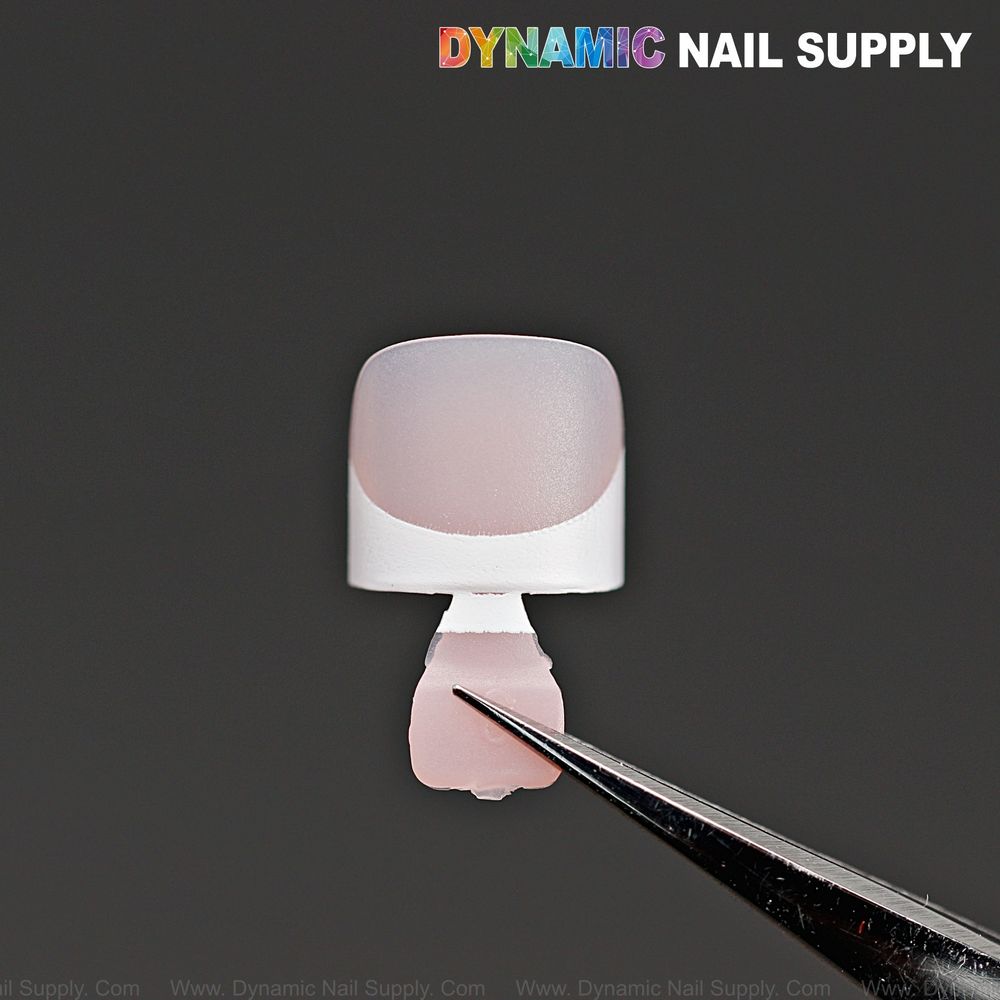
How do I keep the white French edge crisp without extra painting?
These tips arrive with a pre-defined white edge, so your job is to protect and refine it rather than recreate it. After placement, inspect the smile line and use a tiny buffer to even out any irregularities. If a spot needs perfecting, a microscopic touch with white gel or polish is faster than repainting an entire tip—work in tiny increments and cure quickly to avoid smudging.
To accent the French edge subtly for a wedding, consider a thin line of sheer rose-gold foil at the junction of pink and white, applied sparingly so the matte pink stays the main visual; this is optional but fast when done with precision.
Are there safety or handling points I should keep in mind?
Use adhesives and primers in a well-ventilated area and avoid skin contact with glues and bonding agents; if adhesive gets on skin, follow the product manufacturer’s safe removal steps rather than pulling. Store the clear compartment box away from direct sunlight to keep the soft-gel tips from warping, and replace any bent tips rather than forcing them into place.
If you want to keep an organized kit for brides, note that a single box contains 150 pieces and prices may change—this makes it easy to service multiple clients without repeated size sorting.
What do pro bridal techs never skip when rushed?
We always finish by confirming toe symmetry, ensuring no adhesive residue shows at the cuticle, and walking the client through short-term aftercare—avoid long baths for the first few hours and report any tight footwear risks. These small checks prevent returns and keep the look intact for the ceremony.
For an easy product reference or to view the organized compartment box and shade specifics, see baby pink french toe.
Checklist Recap
- Select the best-fit size, choose the larger if between sizes and plan to file.
- Prep quickly: trim, clean, lightly buff center only, and apply primer.
- Apply thin adhesive, position with tab, press 5 seconds, cure if using gel.
- Remove tab, trim and refine sidewalls, tidy the white smile line.
- Apply a matte topcoat if desired and confirm symmetry; advise short-term aftercare.
Numbered Checklist (save or print)
- Open box and layout sizes; mark common sizes.
- Prep nails: trim, push cuticles, clean with lint-free wipe.
- Apply primer; set adhesive and lamp ready.
- Place tips, press 5 sec, cure if needed.
- Remove tabs, trim/file sides, perfect white edge.
- Finish with matte topcoat if allowed; check for adhesive residue.
- Client aftercare briefing: avoid soaking, watch tight shoes.