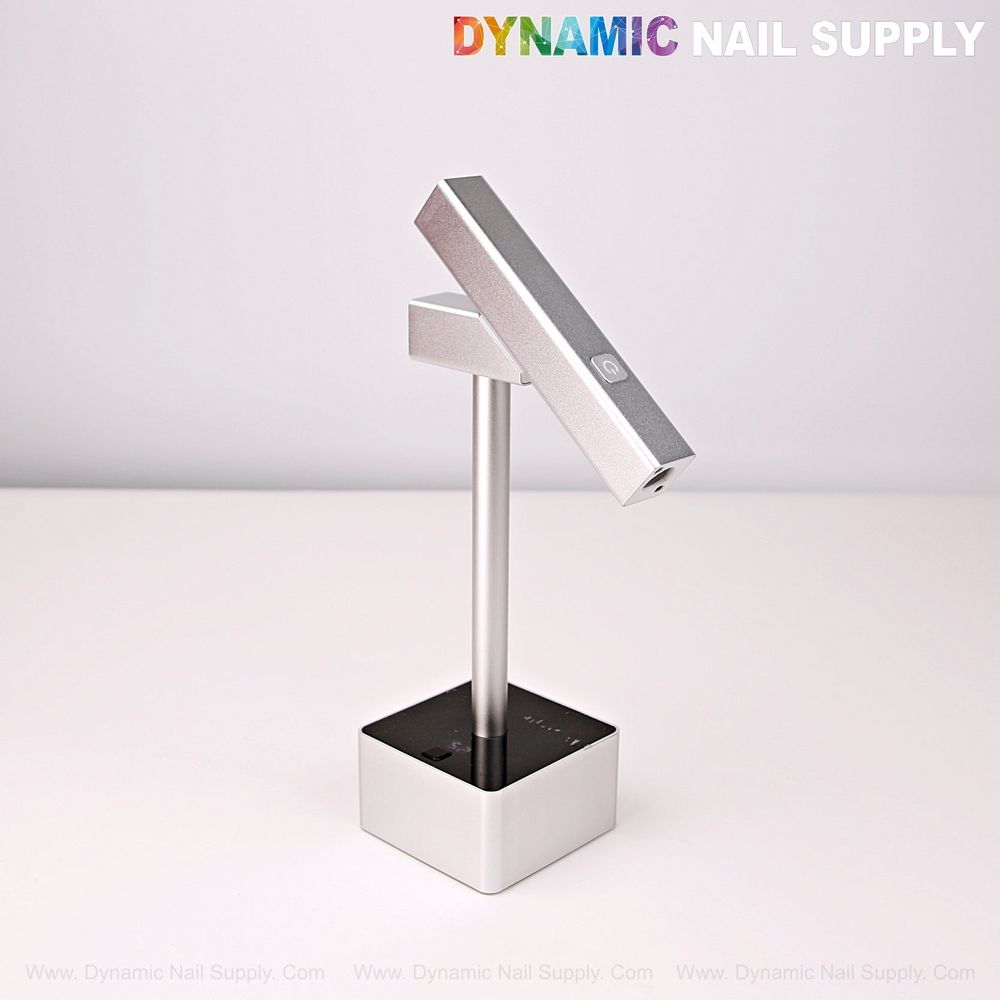
Small, cordless curing tools have changed how beginners learn nail extensions. The mini UV LED flash cure lamp combines a handheld flash unit with a magnetic stand so you can switch between precise spot curing and hands-free cycles in seconds.
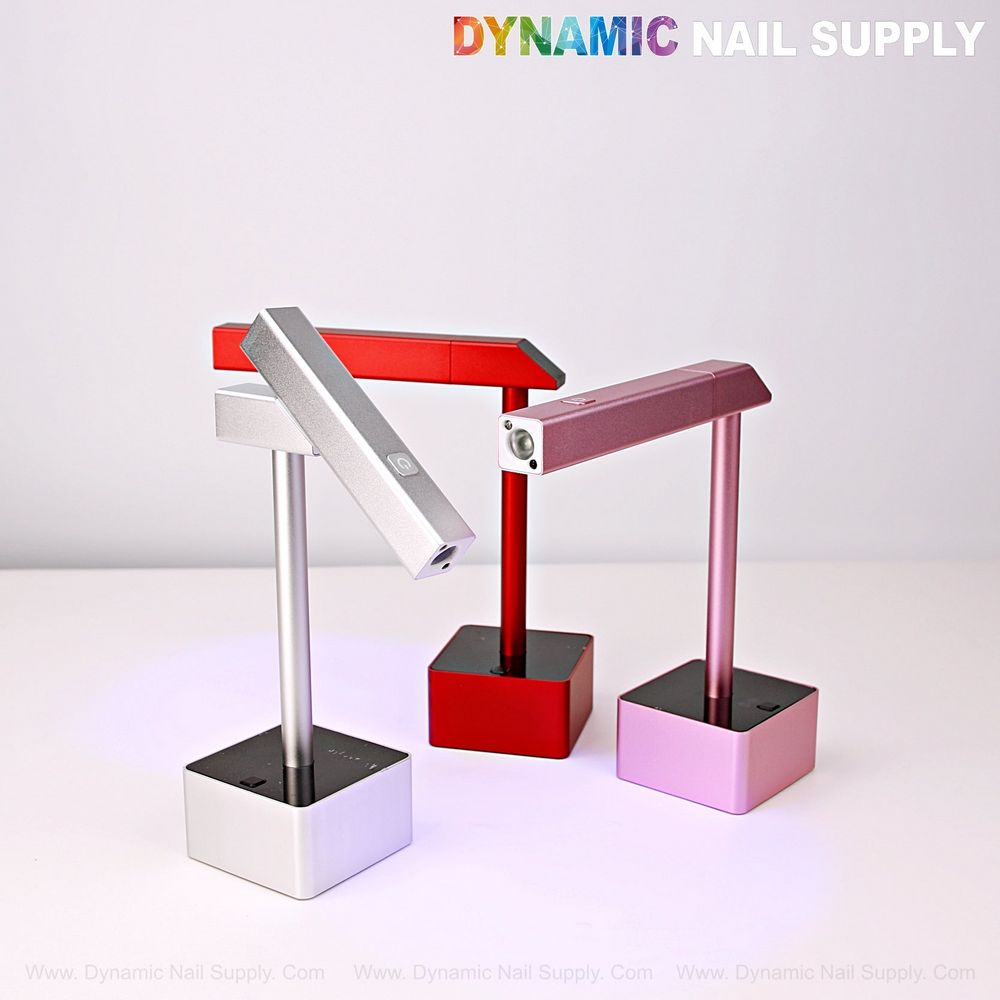
Below is a jargon-free guide that defines the lamp’s main parts, walks through both operating modes step by step, and gives practical tips to get clean, reliable tip placement every time. To compare finishes and color choices, view the UV LED lamp silver on the product page.
What this lamp does (in plain language)
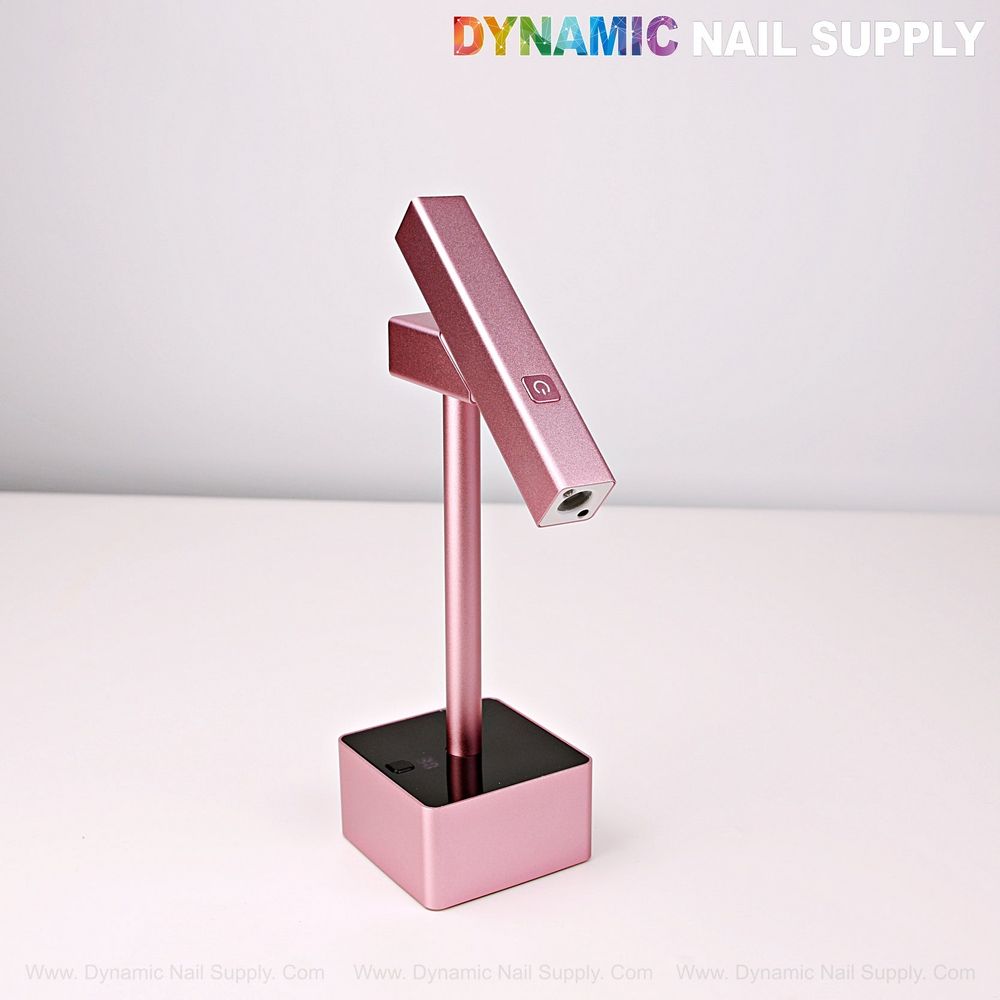
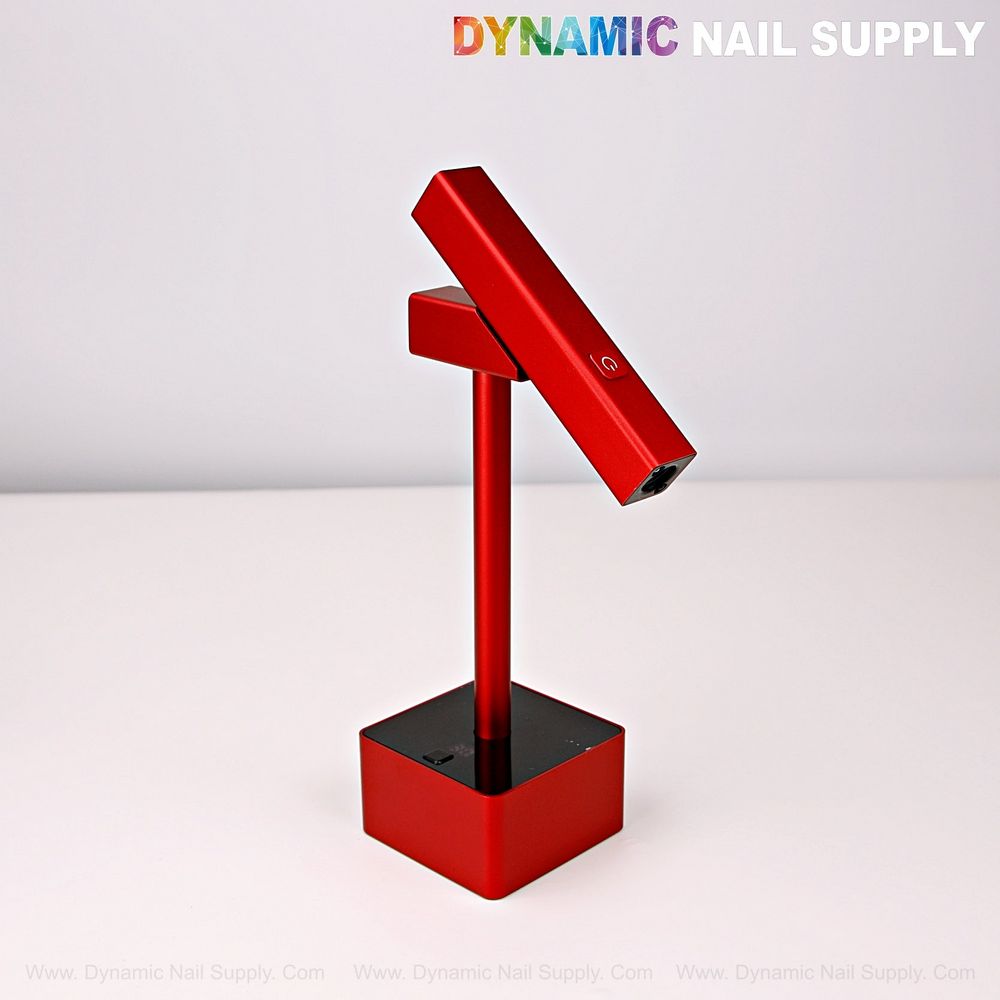
This compact unit is a 2-in-1 curing tool: a lightweight handheld flash light you can position exactly where you need it, and a dockable stand that converts it into a small desktop lamp.
- Handheld flash curing: Designed for targeted, short bursts to tack Gel-X tips, soft gel tips, builder gel, or poly gel in place before final curing.
- Stand mode: The lamp docks magnetically and becomes a hands-free curing station with preset timer options for repeatable results.
- Convenience: Cordless operation with USB Type-C charging makes it easy to use in salon, at home, or on-the-go.
Key parts and terms explained
Familiarizing yourself with a few terms removes confusion when you start using the lamp:
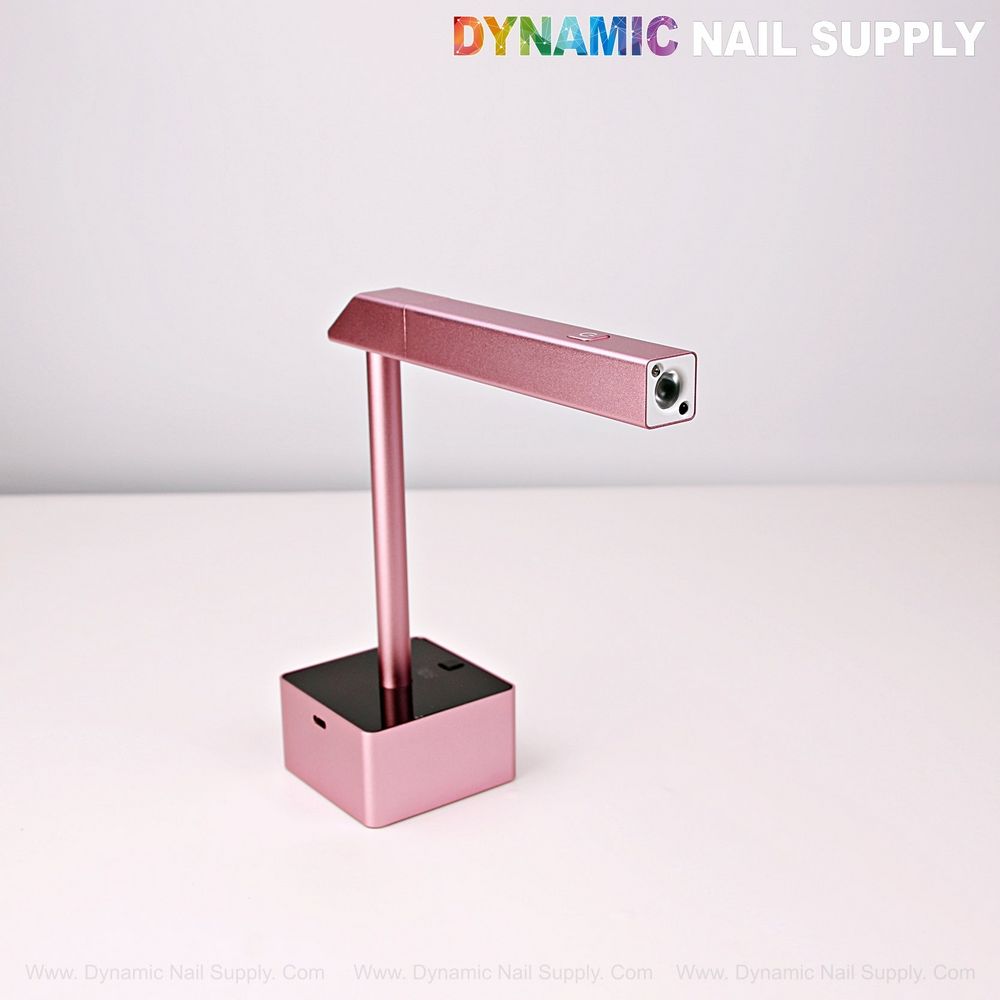
- Handheld unit: The light you hold over the nail for precise flash cures; it has a manual button and an infrared auto sensor.
- Magnetic stand: Holds the handheld light firmly for hands-free curing and offers touch-button timer control on the base.
- Auto sensor: An infrared detector that automatically turns the handheld light on when your hand is placed close (about 5 cm).
- Timer settings: When docked you can choose shorter or longer cycles—20 seconds or 60 seconds—depending on the step you’re doing.
- USB Type-C charging: Use any standard 5V USB source such as a laptop, power bank, or wall adapter to recharge the lamp.
Step-by-step: Handheld flash cure mode
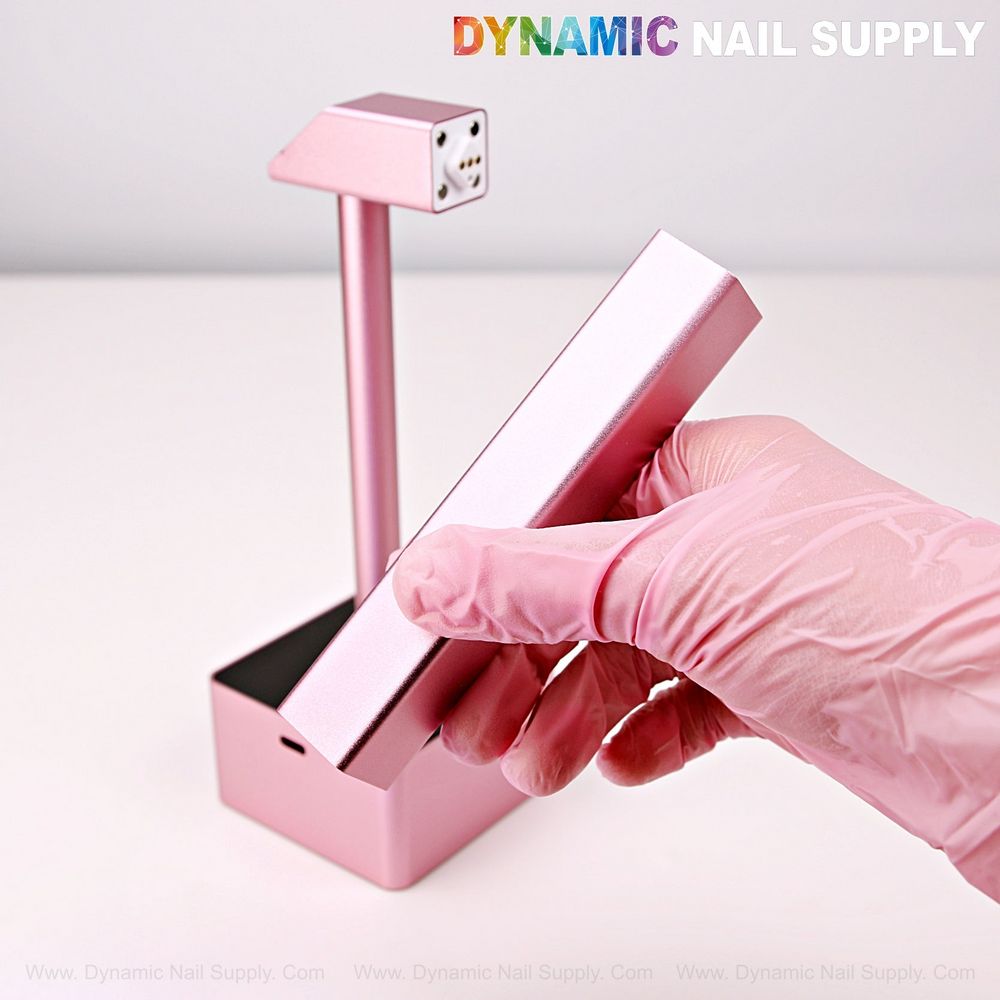
- Remove the handheld light from the magnetic stand and turn it on with the click button for manual flash curing.
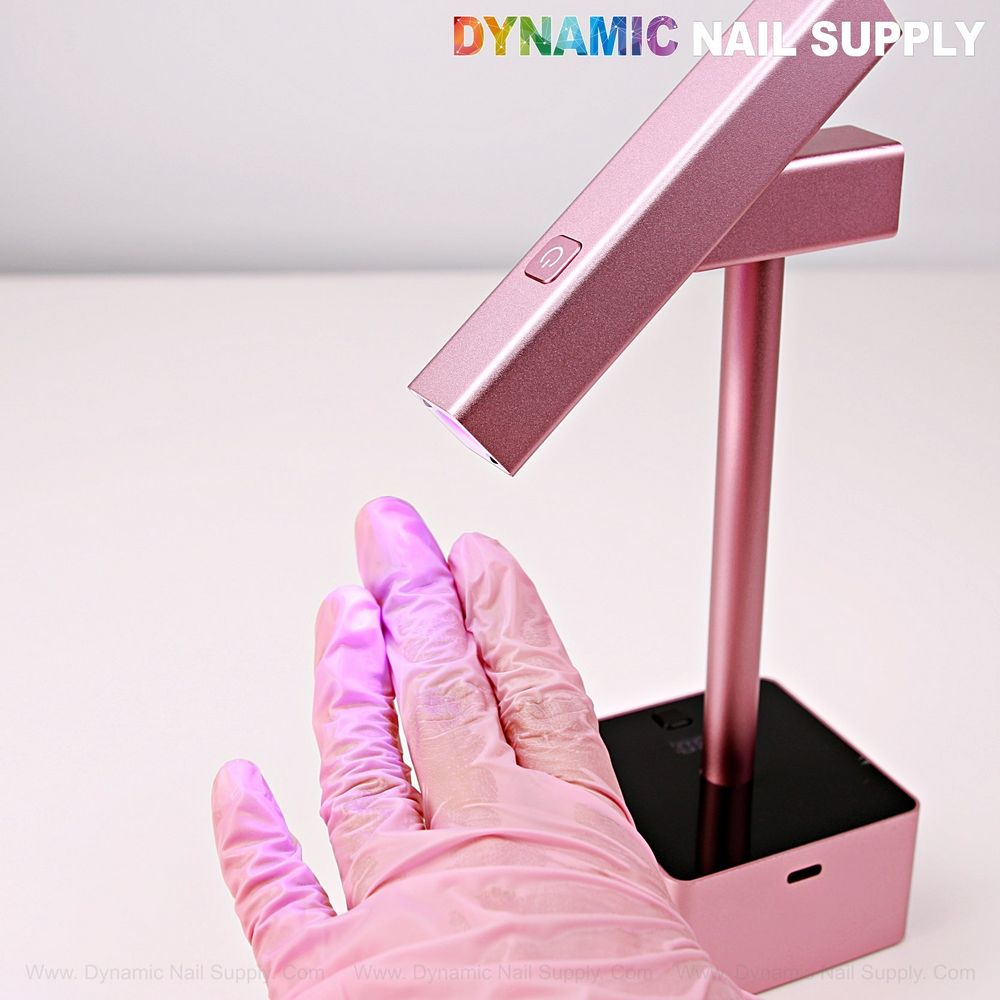
- Alternatively, position your finger beneath the unit and let the auto sensor activate the light for hands-free flashes.
- Hold the lamp so the beam targets the base of the tip or the gel area you want to tack; flash until the product is securely held in place.
- When finished, return the handheld unit to the magnetic dock for charging or use the dock for the next step.
Step-by-step: Stand (hands-free) mode
- Attach the handheld light to the magnetic docking area on the stand; the magnets lock the unit into place.
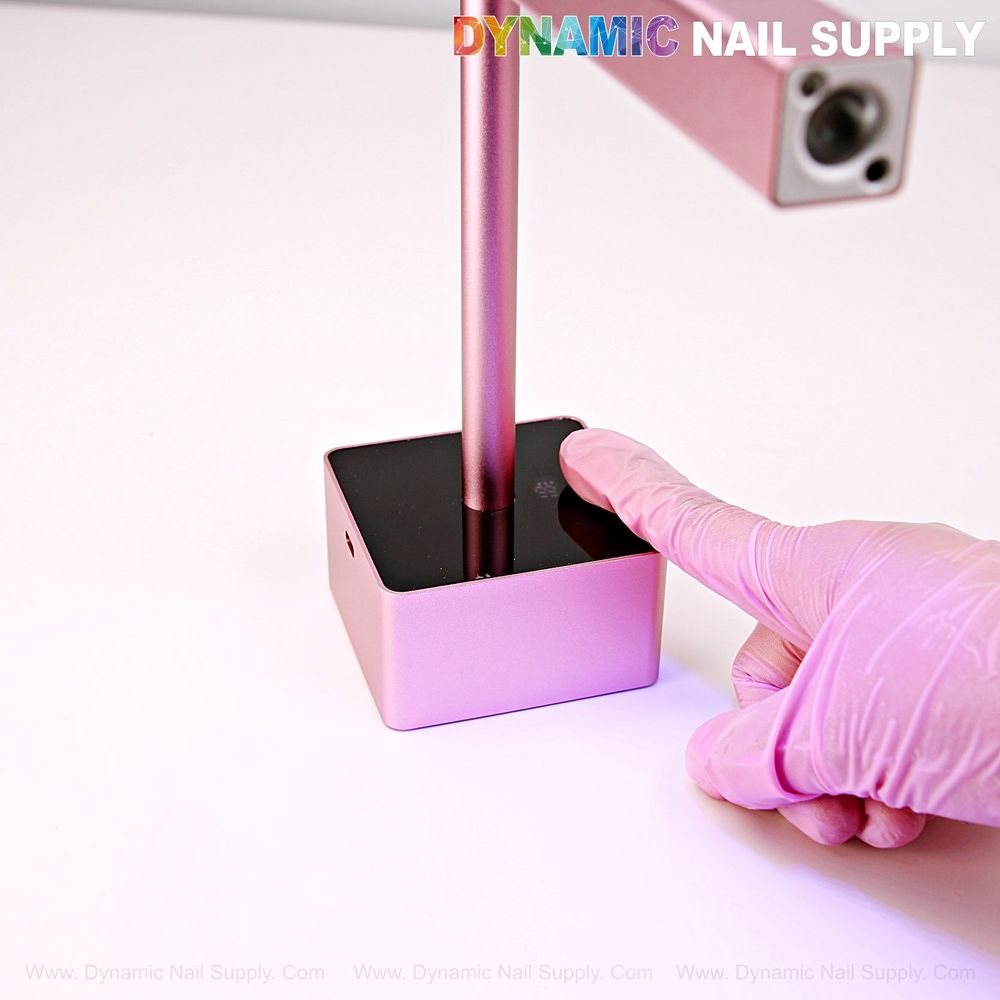
- Touch the button on the stand base to power the lamp and select your curing time: 20 seconds or 60 seconds.
- Adjust the lamp angle on the stand so the beam covers the work area comfortably.
- Place the nail beneath the light and let the cycle run for consistent, repeatable curing.
Practical tips for better results
- Use the right mode for the job: Handheld for precise tack-downs and tip placement; docked for batch or finishing flashes.
- Keep the beam focused: For tiny details and Gel-X base tacks, hold the lamp close but avoid touching the nail surface.
- Charge with common USB sources: The lamp charges via USB Type-C and works with laptops, power banks, and wall adapters—ideal for mobile services.
- Mind the timer: Use the 20-second setting for quick tacks and 60 seconds when you need a longer initial hold before full cure in a larger lamp.
- Let products rest if needed: If a tack doesn’t hold, reposition and repeat a short flash rather than prolonging a single exposure.
Best practices for Gel-X and builder gel
For extensions and full-cover tips, the mini flash lamp is designed to secure tips into place before final curing. Use short, targeted flashes to tack adhesive or primer, then finish in a full-size UV/LED lamp if you require deeper cure or full-layer polymerization.
Who this lamp is ideal for
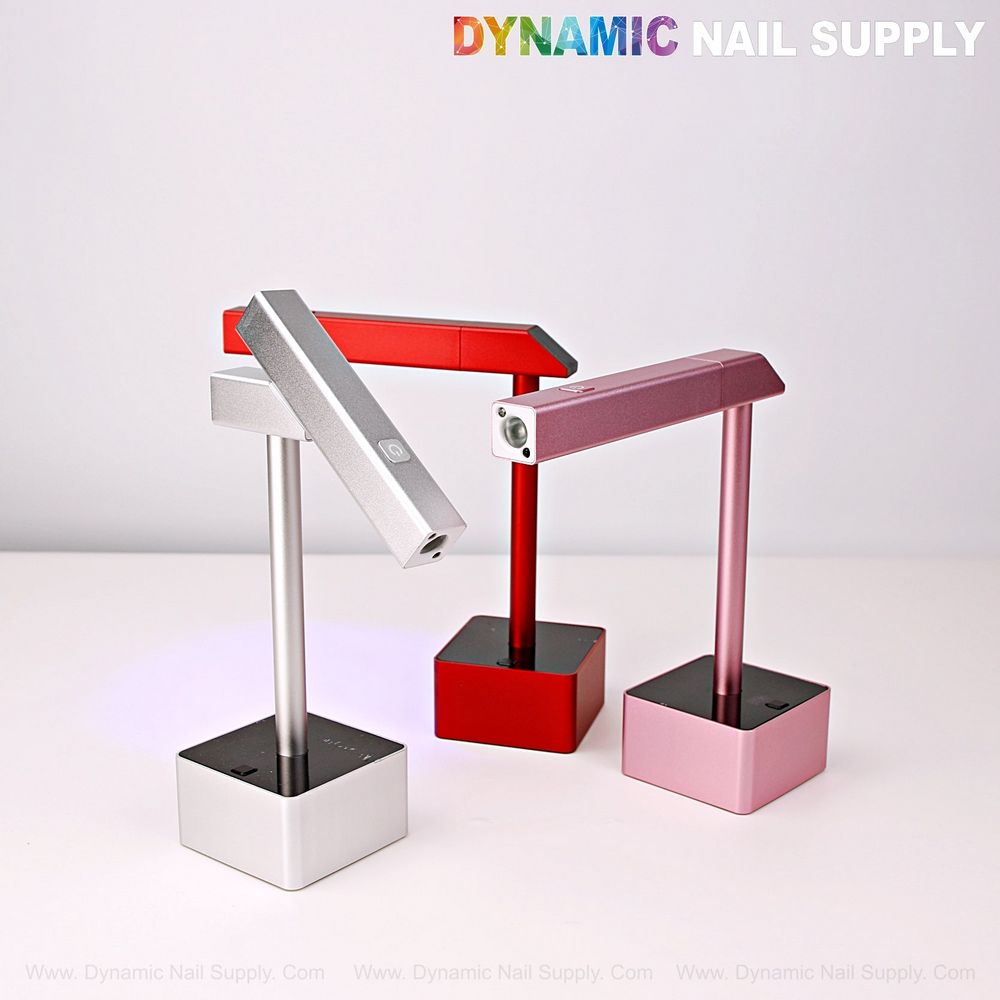
This compact 2-in-1 device is useful for students, mobile technicians, salon pros who need a portable flash cure tool, and at-home enthusiasts working with Gel-X, soft gel extensions, builder gel, and poly gel. It’s also a convenient backup for busy benches and for demonstrations at trade shows or beauty classes. Dynamic Nail Supply offers this item in three colors for stylist preference.
Care, charging and safety notes
- Charging: Recharge via the included USB Type-C cable using any 5V USB power source.
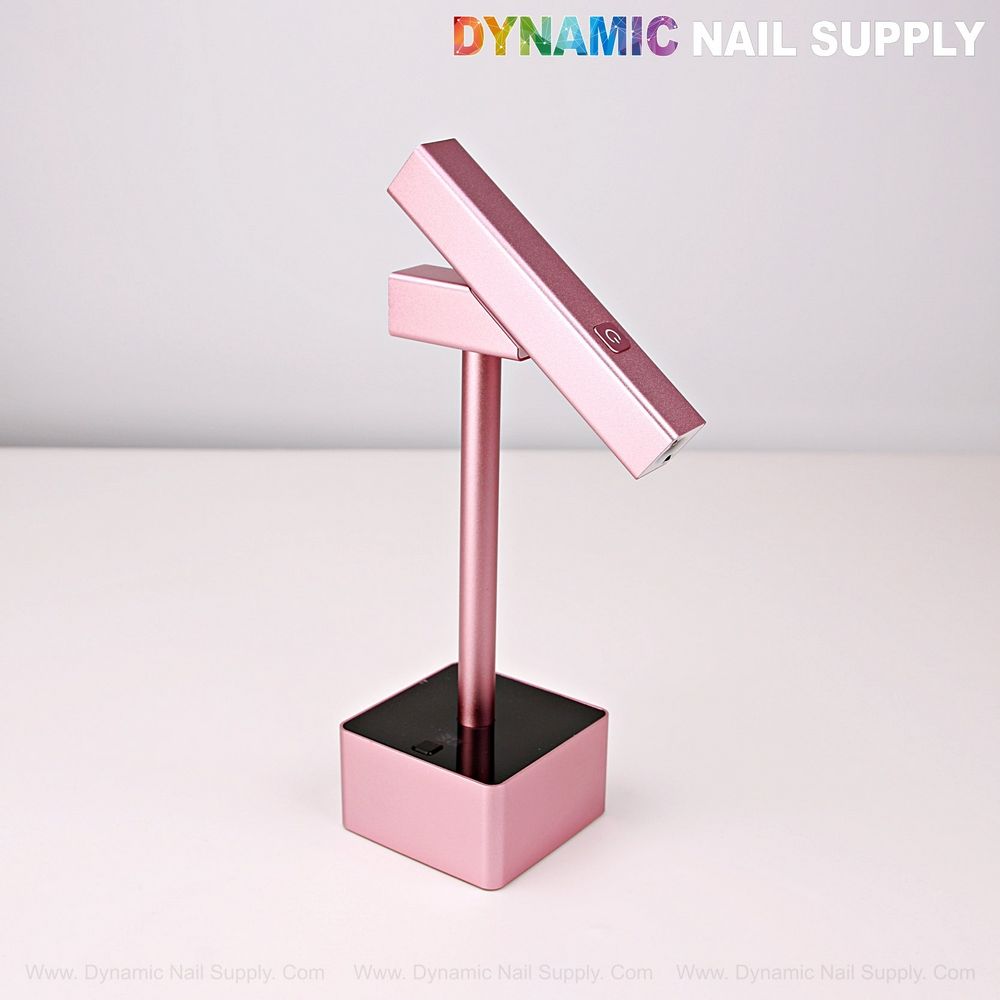
- Storage: Dock the light when not in use to keep the components together and avoid losing the handheld unit.
- Safety: Avoid direct eye exposure to the curing light and follow standard precautions for UV/LED devices. Keep out of reach of children and read the manufacturer’s instructions that come with the lamp.
Conclusion
The mini UV LED flash cure lamp gives beginners a flexible, professional-feeling tool for fast tip placement and targeted flashes. Its magnetic 2-in-1 design, auto sensor, and USB Type-C charging make it especially handy for mobile work and tight salon spaces. At the time of writing the lamp is listed at $24.99; prices may change, so check current listings before purchasing.